- On Sale
- New Arrivals
- Brands
- Product types
- Items for certain gender, size, or color
- Using the API client or REST API
- Using InstantSearch on the frontend
High-level approach
- You create a category page by sending an API request with an empty
queryand afiltersparameter based on a category page identifier. - The API response returns a list of products based on the category page identifier in the
hitsattribute.
Implementation steps
1
Create a data attribute that references the category page for each record
You can create category pages using different combinations of filter values.
Although Algolia doesn’t impose any restrictions on the amount of filters you pass,
best practice is to tag each item with an array of category page identifiers.A category page identifier is a unique identifier that references a particular category page.
It can be a string or an integer.
You can name it For example, here are sone filters you can apply for different category pages:For more information, see:
categories, categoryId, categoryPageId or anything else.
Importantly, you can automate tagging the with the category page identifier to ensure that the right products always show up on the right category pages. You use this identifier:- In the query, to filter on the product to generate each category page
- As a category page reference, for visual merchandising in the dashboard
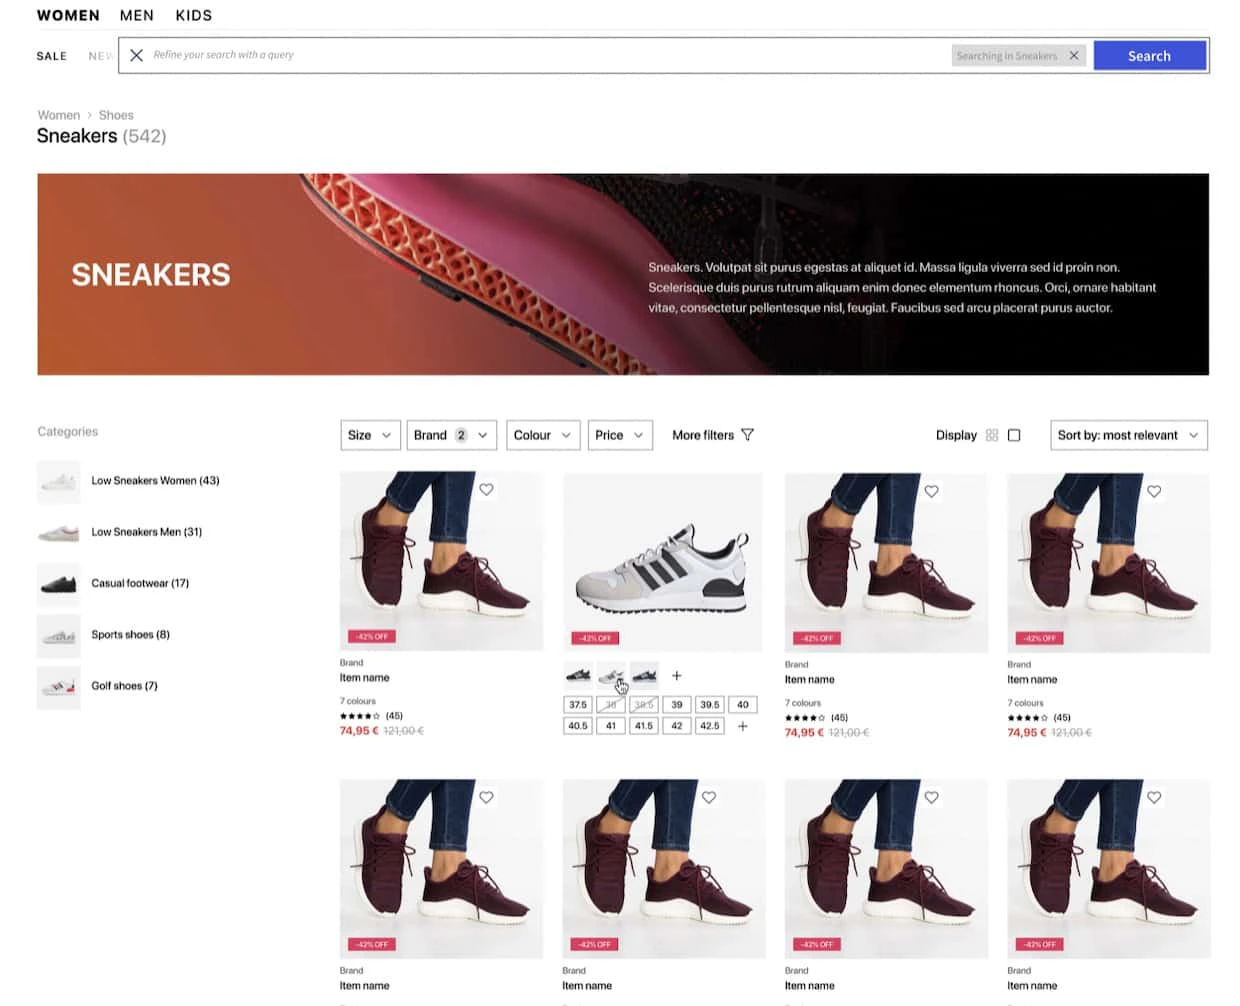
On Sale or Women > Clothing > Dresses.
This way, business users, when merchandising, can easily reference the category page based on a less technical name.Look at the sample record below.
This item belongs to multiple category pages:JSON
It’s best to use method B for two reasons:
- To use the Category Merchandising feature in the Visual Editor, your dataset must contain a unique category page identifier.
- Having a unique ID per category page makes it easier for merchandisers to reference the page and to merchandise products accordingly.
If you use method A, you can’t use the Category Merchandising feature in the Visual Editor.
Using method A, introduces room for errors for business users.
Business users who use the Visual Editor to create merchandising rules have to take an additional step to add
inStock: true or visibility: true as a Rule condition for every rule. Avoid that complexity by automatically updating the category page identifier for each record.2
Keep category ientifiers up to date
Set up data synchronization to automate the process of keeping records up to date with the right category page identifierTo keep records updated with relevant values,
push a partial update on the To remove products from a particular category page:
categoryPageId attribute based on stock availability or other dynamic values that affect the visibility of products on a given page.
Partial record updates lets you change only some attributes, in this case categoryPageId, which improves indexing performance.3
Configure your index
Declare
categoryPageId as a searchable attributesForFaceting.
You can do this using the API or the dashboard.- Using the dashboard
- Using the API
To add
categoryPageId as a searchable attributesForFaceting, follow these steps:- Select the Search product icon on your dashboard and then select your index.
- Click the Configuration tab.
- In the Facets subsection of Filtering and Faceting, click the Add an attribute button and select the
categoryPageIdattribute from the drop-down menu. - Set searchable facet on
categoryPageId. - Save your changes.
4
Build the query
The query should include the following:
- Empty string
- Facet filter on
categoryPageId - Analytics tags, which lets you view in the dashboard the click and conversion performance of specific category pages
5
Optional: build a frontend UI with InstantSearch
To apply the query parameters in the frontend, instantiate the
configure widget and add the parameters from the previous Build the query step.